This video chronicles a beginner's journey to mastering basic color grading in DaVinci Resolve, specifically for SLOG 3 footage, transforming intimidating concepts into a practical workflow.
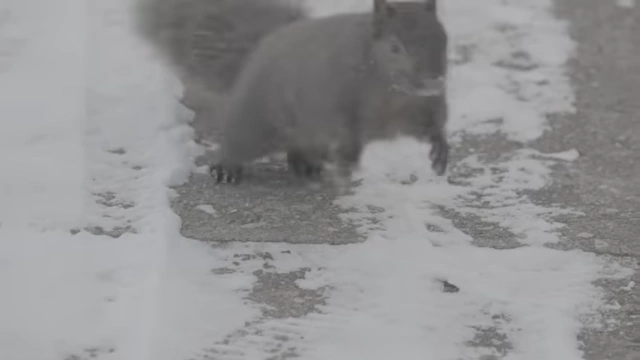
Before and after of squirrel footage color grading in DaVinci Resolve
[
00:00:04
]
Before and after of squirrel footage color grading in DaVinci Resolve
[
00:06:51
]
The speaker initially felt intimidated by the complexity of professional color grading tutorials and the need to shoot in log profiles like SLOG 3 for enhanced dynamic range, which initially results in flat-looking footage.
After struggling with advanced techniques and considering easier profiles like S-Cinetone, the speaker embraced a hands-on approach to learn DaVinci Resolve's basic controls (Lift, Gamma, Gain, Offset).
A key breakthrough came with understanding the function of a Color Space Transform (CST) to accurately convert log footage to the broadcast-standard Rec. 709, making the footage look correct before further adjustments.
The video demonstrates a simple three-node workflow:
Exposure adjustments using controls like Offset and Gain.
Contrast and saturation tuning.
The essential Color Space Transform.
A time-saving tip for applying grades across multiple clips using "Grab Still" and "Apply Grade" is also shared, encouraging beginners not to be intimidated by the color grading process.
The Rationale for Log Footage and Initial Intimidation [0:00:00]
The speaker realized that to advance in cinematography, especially for capturing squirrel footage, shooting in log profiles is essential [0:00:00].
Experts on YouTube emphasize that professionals use log rather than standard picture profiles, like SLOG 3 on Sony cameras, for greater dynamic range [0:00:06].
Dynamic range is defined as the range between the lightest and darkest areas of a scene a camera can capture without losing detail [0:00:23].
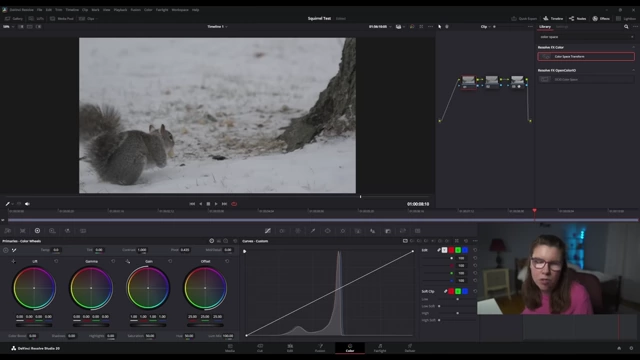
Initial ungraded log footage of a squirrel in snow
[
00:00:04
]
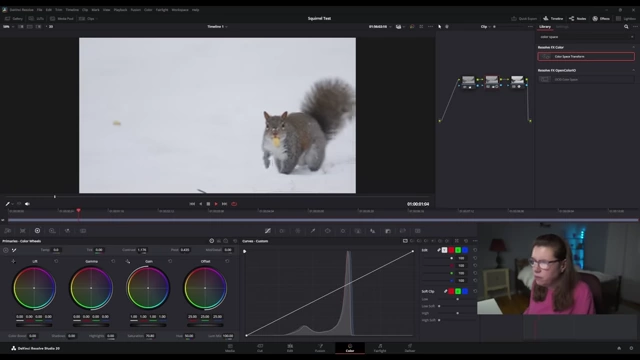
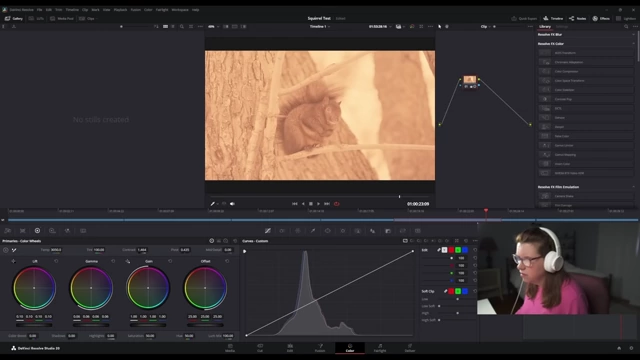
The initial experience of opening DaVinci Resolve was extremely intimidating, comparing it to "Forest Gump stumbling into NASA mission control" [0:00:36].
DaVinci Resolve interface showing ungraded squirrel footage and complex color tools
[
00:00:38
]
Initial Learning Struggles and Alternative Profiles [0:00:48]
The speaker first turned to industry-leading colorist Casey from Camera Conspiracies for guidance [0:00:50].
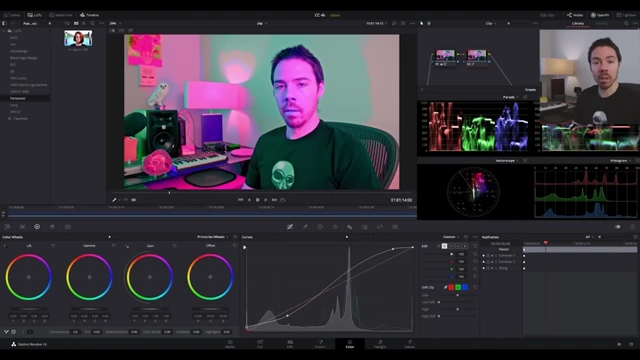
Casey's masterclass, while professional, proved too fast-paced and complex for a beginner to follow [0:01:41].
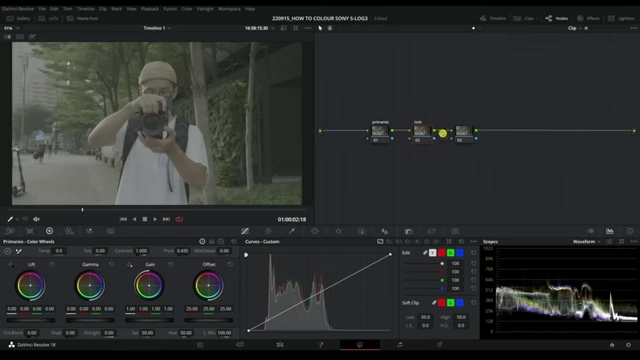
Complex color grading adjustments shown in Casey's DaVinci Resolve masterclass
[
00:01:12
]
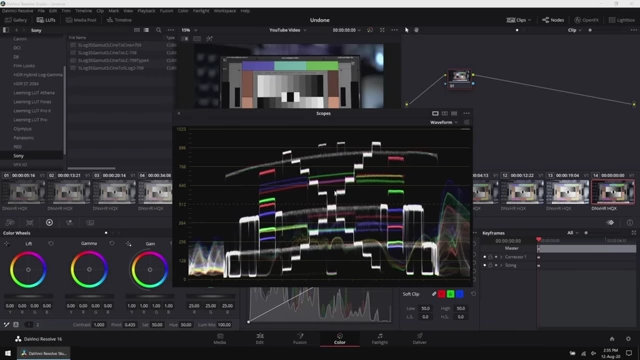
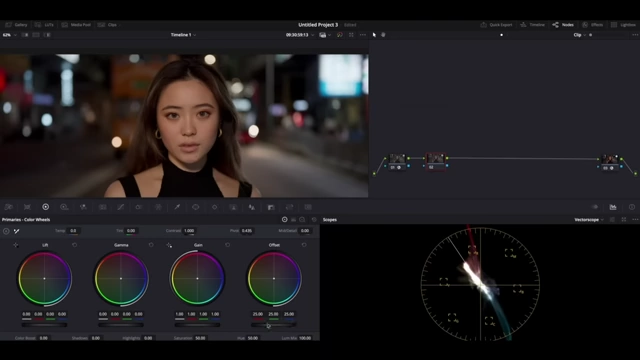
The speaker also found Gerald Undone's explanation of waveforms for linear images too complex to grasp as a beginner [0:01:52].
Complex waveform analysis in DaVinci Resolve during Gerald Undone's color grading tutorial
[
00:02:17
]
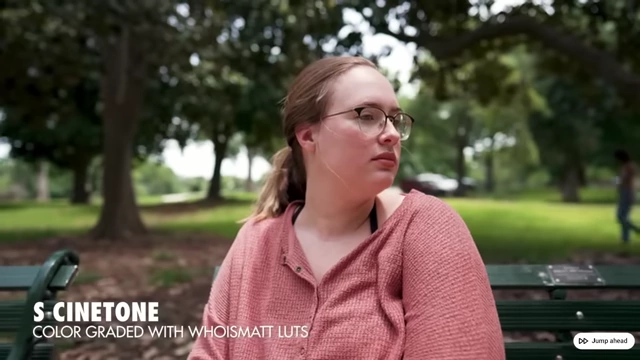
A brief exploration into S-Cinetone picture profile offered a seemingly easier route to cinematic footage without extensive color grading [0:02:47].
Example footage shot in S-Cinetone profile with minimal color grading
[
00:02:59
]
This idea was short-lived, as the speaker was reminded of the professional necessity of shooting in log [0:03:11].
The speaker adopted a hands-on learning approach, inspired by a cardiac nurse's advice that practical experience is crucial for mastering procedures [0:03:29].
To demystify the color grading interface, the speaker sought out simpler explanations for the core color wheels [0:03:45].
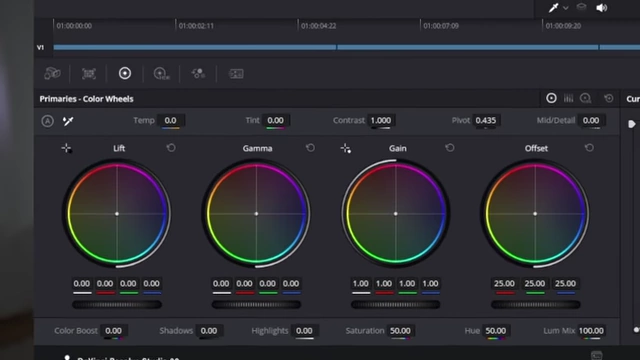
Mark Terra Steiner provided a clear breakdown of the "Lift, Gamma, Gain, and Offset" controls [0:03:57].
Offset acts as overall exposure, changing the entire image [0:04:12].
Gain controls whites, brights, and highlights [0:04:17].
DaVinci Resolve color wheels for Lift, Gamma, Gain, and Offset controls
[
00:03:48
]
Demonstration of color wheel adjustments impacting a subject's skin tones and overall image
[
00:04:15
]
The Crucial Role of Color Space Transform (CST) [0:04:35]
Despite understanding the basic controls, SLOG 3 footage still didn't look right, indicating a missing step [0:04:31].
Incorrectly adjusted SLOG 3 footage in DaVinci Resolve before Color Space Transform
[
00:04:30
]
The breakthrough came from Danny Gan, who explained the necessity of a Color Space Transform (CST) [0:04:37].
Log footage needs to be transformed into Rec. 709, which is the broadcasting standard for display [0:04:42].
Three-node workflow in DaVinci Resolve, highlighting Primaries, Look, and Color Space Transform nodes
[
00:05:02
]
A CST is used to convert video from a camera's native log color space (e.g., SLOG 3) into a display color space (Rec. 709) for proper viewing and delivery [0:05:10].
Step-by-Step Basic Color Grading Workflow in DaVinci Resolve [0:05:23]
The recommended workflow involves a simple structure of three nodes in the color page [0:05:34].
Applying the Color Space Transform (CST) [0:05:40]:
Add two serial nodes by pressing Alt + S [0:05:34].
Drag the "Color Space Transform" effect onto the third node [0:05:40].
Configure the CST settings:
Input Color Space: Sony S-Gamut3C (matching camera settings) [0:05:56].
Input Gamma: Sony SLOG 3 (matching camera settings) [0:06:00].
Output Color Space: Rec. 709 (broadcast standard) [0:06:05].
Typically used for adjusting contrast and saturation.
Slightly increase contrast (e.g., to 1.17) [0:06:40].
Slightly raise saturation (e.g., to 70) [0:06:46].
Final color graded squirrel footage with balanced exposure, contrast, and saturation
[
00:06:51
]
Workflow Efficiency: Applying Grades to Multiple Clips [0:07:26]
A time-saving hack for applying the same grade to several similar clips is demonstrated [0:07:26].
Right-click on a graded clip and select "Grab Still" [0:07:30].
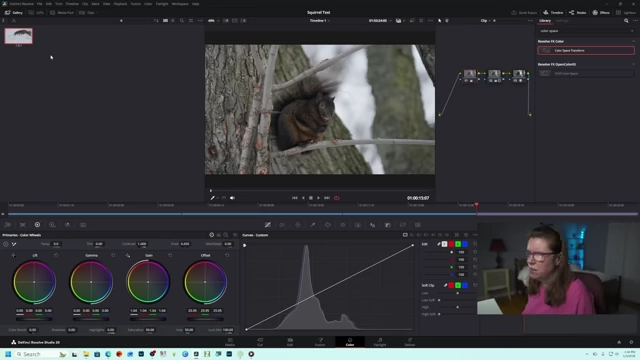
Open the gallery and then, on an ungraded clip, right-click the saved still and choose "Apply Grade" [0:07:38]. This avoids reapplying CST to each clip [0:07:48].
Applying a saved color grade from a still to an ungraded clip in DaVinci Resolve's gallery
[
00:07:44
]
The video notes that Lookup Tables (LUTs) are an alternative to CST but expresses a preference for CST due to its perceived accuracy [0:07:06].
A key lesson learned is that there isn't one "right" way to color grade; the same result can be achieved in multiple ways [0:06:57].
The video aims to remove intimidation from filming in log and empowers viewers to present their footage (like squirrel cinematography) in the best possible quality [0:07:53].