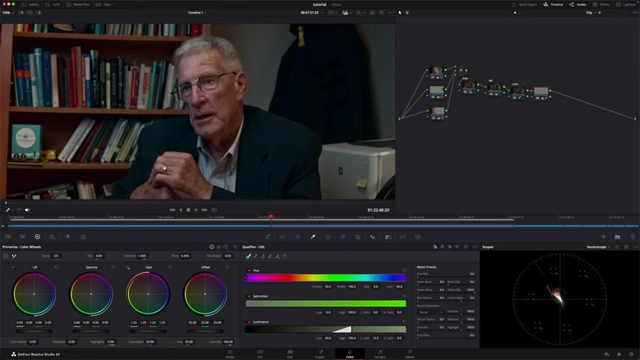
Learn to color grade documentary-style interviews in DaVinci Resolve, transforming raw footage into a polished, cinematic look. This tutorial covers initial project setup, clip-level adjustments, global enhancements, creative look development, and advanced targeted corrections.
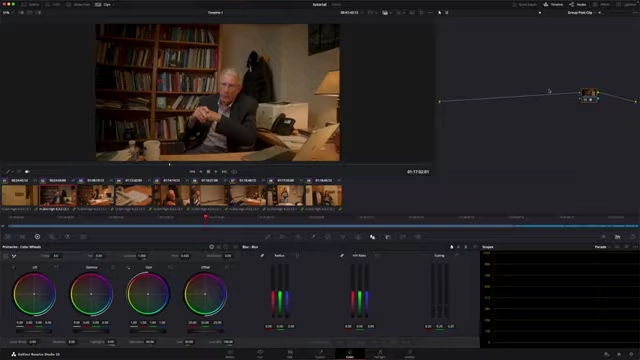
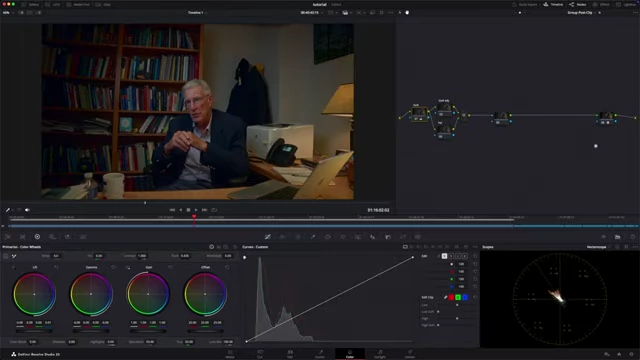
Initial raw interview footage before color grading
[
00:00:06
]
Footage, including B-roll and the main interview, is imported into the edit tab by dragging and dropping from the file finder [1:50].
It is crucial to select "don't change" when prompted, to preserve the original frame rate [2:00].
The main interview clip is identified as the "hero frame" due to consistent lighting and location, serving as the primary reference for the initial grade [2:22].
All clips sharing the same lighting and location are selected and added to a new group, named "office" [4:24].
This grouping creates a node structure with 'pre-clip,' 'clip,' and 'post-clip' nodes, enabling global adjustments across the entire group or specific clip-level modifications [5:17].
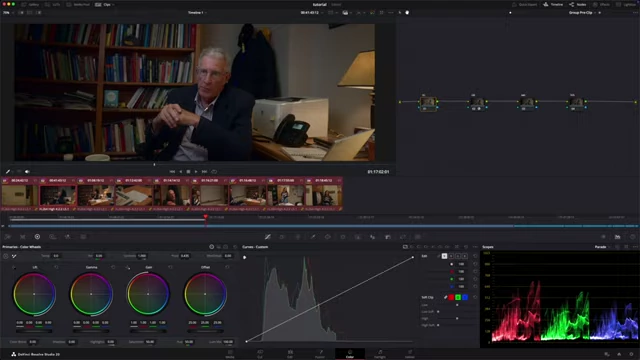
DaVinci Resolve color page showing the 'pre-clip', 'clip', and 'post-clip' node structure for group grading
[
00:05:21
]
Project settings are configured under "Color Management" [6:30].
"DaVinci YRGB Color Managed" is selected for "Color Science" and "Timeline Color Space," with "Output Color Space" set to "Rec.709 Gamma 2.4" [6:40].
Preferences are verified to ensure "use 10-bit precision" and "automatically tag Rec.709 scene clips as Rec.709-A" are enabled for Mac users (for Windows, ensure "Rec.709 Gamma 2.4" is correctly set in project settings) [7:00].
A "Color Space Transform" effect is added to the 'pre-clip' node, configuring input settings to match the camera's color space and gamma (e.g., Sony S-Gamut3.Cine / S-Log3) [7:56].
Output color space is set to "DaVinci Wide Gamut" and output gamma to "DaVinci Intermediate" with tone mapping set to "None" [8:35].
This node universally converts all log footage within the group to a standardized working color space [8:44].
Another "Color Space Transform" is added to the 'post-clip' node, with input matching the pre-clip output ("DaVinci Wide Gamut" / "DaVinci Intermediate") [9:10].
Output color space is "Rec.709" and output gamma is "Gamma 2.4," with tone mapping set to "Luminance Mapping" and gamma mapping to "Saturation Compression" [9:30].
These pre and post-clip nodes serve as the foundational "buns of a burger" for the entire group's color workflow, bracketing the creative grading steps [9:57].
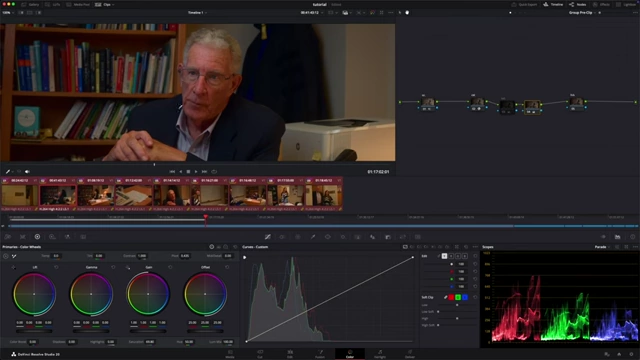
DaVinci Resolve color page with node graph showing pre-clip and post-clip color space transforms
[
00:09:59
]
Initial Clip-Level Adjustments (The Core Grade) [10:19]
The speaker selects a representative "hero frame" to establish the initial color grade [10:07].
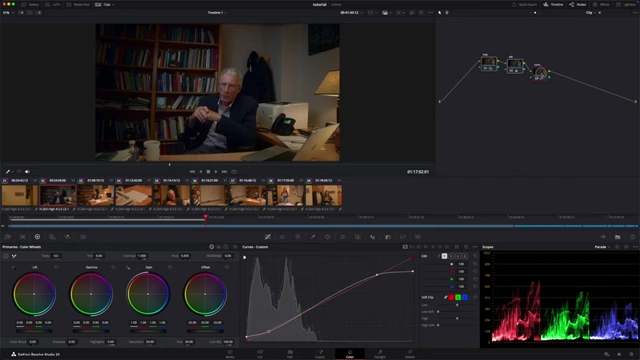
White balance is refined using the offset wheel to correct color casts, aiming for neutral blacks and whites while retaining warmth from practical lights [12:08].
Visual inspection and the parade scope confirm an initial orange/red tint, leading to adjustments to balance red, blue, and green channels [12:13].
The refined grade from the "hero frame" (exposure, white balance, contrast) is saved as a "steel" in the gallery [16:12].
This saved grade is then applied to all other clips within the group, ensuring a consistent base for all shots while allowing individual clip adjustments later [16:18].
DaVinci Resolve interface showing node graph with Exposure, White Balance, and Contrast nodes, along with the parade scope
[
00:15:58
]
Pre-Clip Group Adjustments (Global Enhancements) [16:55]
The pre-clip group is used for global enhancements that affect all clips within the group.
DaVinci Resolve pre-clip node graph for global enhancements like noise reduction and saturation
[
00:17:57
]
A serial node for "noise reduction" is inserted before the Color Space Transform within the pre-clip group [17:41].
Temporal noise reduction is applied (e.g., 'frame 3,' 'better' quality, with an 'amount' of approximately 5.2) to subtly reduce image grain without compromising sharpness [18:29].
A "saturation" node is added to the pre-clip group, and its color space is changed to HSV (Hue, Saturation, Value) [19:03].
Hue and Value channels are deselected, isolating only the saturation control [19:51].
Saturation is subtly increased using the 'gain' wheel, enriching colors in a deep and natural manner, in contrast to the less refined 'saturation' slider [20:07].
Visual comparison of saturation applied using the regular slider versus HSV color space gain for deeper colors
[
00:20:47
]
A dedicated node for "highlight and shadows" is added to the pre-clip group [21:09].
Highlights are subtly decreased to "take the edge off" overly bright areas, and shadows are slightly increased to recover details in darker regions without over-exposure [21:24].
Post-Clip Group Adjustments (Creative Look and Effects) [22:29]
The 'vector scope' is utilized, with the "show skin tone indicator" enabled, to precisely monitor skin tone consistency [25:35].
The 'gamma' wheel (controlling midtones) is carefully moved towards the orange side to balance skin tones against the cooler shadows, ensuring a natural complexion [26:18].
Vector scope with the skin tone indicator, used for balancing skin tones
[
00:26:56
]
Hue vs. Hue Adjustments (Teal and Orange Look) [27:03]
In the "look adjustment" node, the "Hue vs. Hue" curve is selected [27:05].
Specific hues (red, yellow, blue) are targeted to shift their color properties (e.g., yellows towards orange, blues towards cyan/green), contributing to a "teal and orange" cinematic aesthetic [27:10].
Hue vs. Hue curve being adjusted to achieve a teal and orange look
[
00:28:35
]
A "Beauty" effect is added to a dedicated node; set to "Automatic," the 'amount' (e.g., 120) and 'scale' (e.g., 350) are adjusted to subtly smooth skin [30:50].
A "Glow" effect is applied with 'Composite Type' set to "Soft Light," 'shine threshold' pulled back, 'spread' around 1.4, 'saturation' down, and 'blend' adjusted (e.g., 540) to introduce a soft glow [31:56].
A "Contrast Pop" effect is added, with parameters such as 'effect amount' (e.g., 65), 'detail size' (e.g., 140), 'low/high threshold,' and 'softness' (e.g., 650) adjusted to add subtle pop to fine details [33:08].
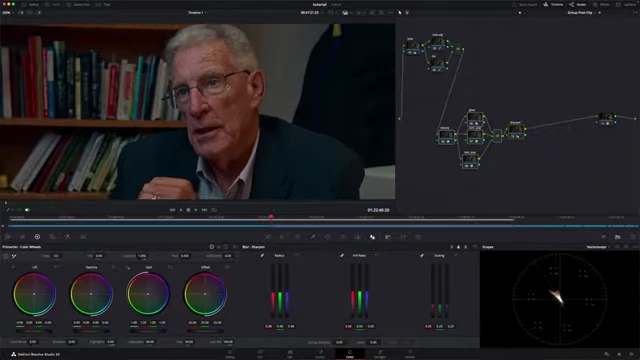
A sharpening tool is applied as one of the final adjustments, with the 'radius' setting adjusted to a low value (e.g., 48-49) for gentle, overall sharpness [35:50].
Comparison of the image before and after applying the combined texture group effects (beauty, glow, contrast pop, sharpen)
[
00:36:34
]
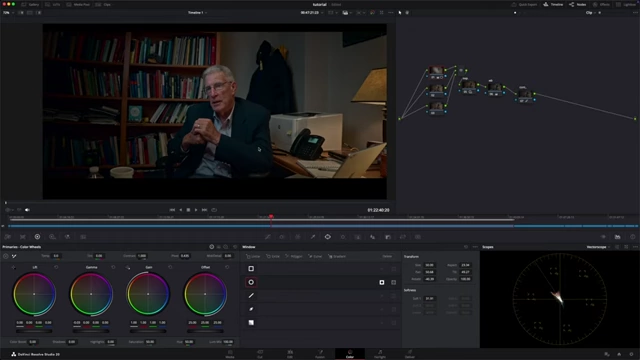
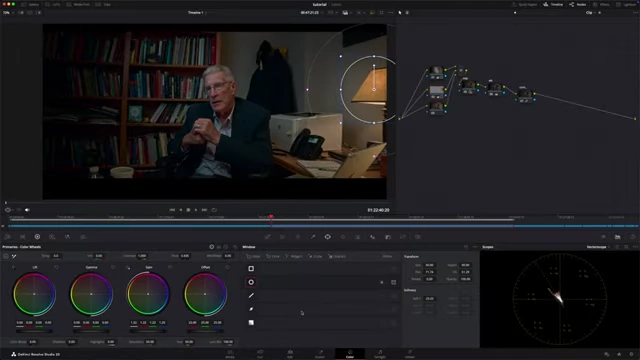
To achieve a cinematic, wide-screen aesthetic, "Timeline Output Blanking" is set to "2.35" to add black bars, and the image can be repositioned in the edit tab [37:58].