5 Essential DaVinci Resolve Editing Techniques and 3 Recommended MotionVFX Plugins
This video presents five essential DaVinci Resolve techniques for beginners to improve their editing workflow, along with recommendations for three MotionVFX plugins that can enhance creative video projects.
Introduction to Essential DaVinci Resolve Techniques [00:00]
The video introduces five highly useful techniques within DaVinci Resolve, aimed at making the editing process significantly easier for beginners, alongside recommendations for three powerful MotionVFX plugins.
1. Efficient Clip Reordering [01:27]
This section addresses the common challenge of reordering clips on the timeline without causing cuts or overlaps.
- Traditional Method Problem: Simply dragging and dropping a clip into the middle of others often results in the surrounding clips being cut off or overwritten.
- Seamless Swapping Solution:
- For Mac users, hold
Command + Shiftwhile dragging a clip to its new position. - For Windows users, use
Alt + Shift. - This technique allows you to insert clips into the timeline, automatically shifting adjacent clips forward or backward to accommodate the change without data loss.
- This method applies equally to both video and audio clips, allowing for flexible arrangement of BGM or sound effects.

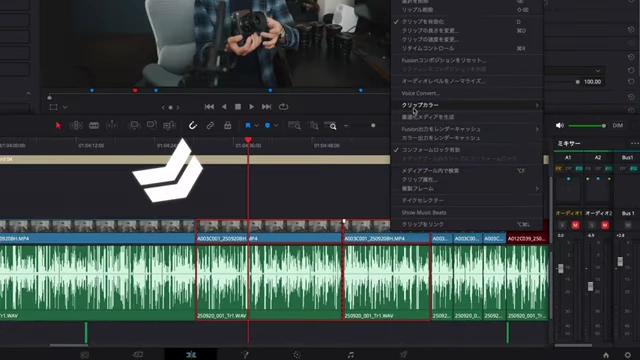
Dragging a clip while holding Command/Alt + Shift allows seamless reordering without overwriting other clips. [ 00:02:00 ]
- For Mac users, hold
2. Batch Audio Volume Adjustment [03:48]
The speaker demonstrates how to adjust audio parameters for multiple clips simultaneously, a significant time-saver.
- Individual Adjustment Difficulty: Manually adjusting the volume line for each short audio clip can be tedious and time-consuming.
- Collective Adjustment Method:
- Select all the desired audio clips on the timeline.
- Navigate to the Inspector panel (usually on the right side of the screen).
- Under the Audio section, locate the "Volume" parameter.
- Adjusting this slider will change the volume for all selected clips uniformly.
- Additional Audio Controls: The Inspector also allows for batch adjustments of "Pan" (stereo balance) and "Pitch" (audio frequency), providing comprehensive control over multiple audio segments at once.
Adjusting the volume slider in the Inspector panel for multiple selected audio clips to change their levels simultaneously. [ 00:04:10 ]
3. Enhancing Videos with MotionVFX Plugins [06:06]
The video introduces MotionVFX plugins, highlighting their utility for various video editing needs.
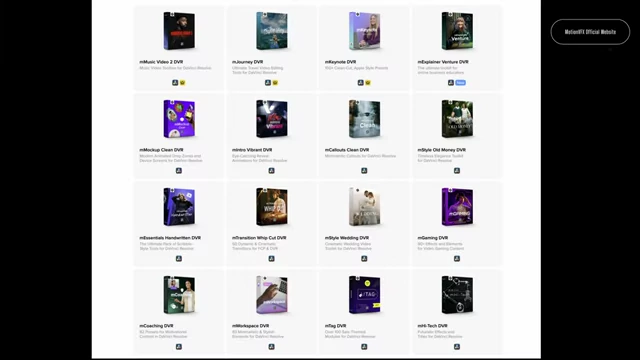
- An overview of various MotionVFX plugins, including text, effect, and LUT-based options.
An overview of various MotionVFX plugins, including text, effect, and LUT-based options. [ 00:06:36 ] - mMusic Video 3 [06:50]
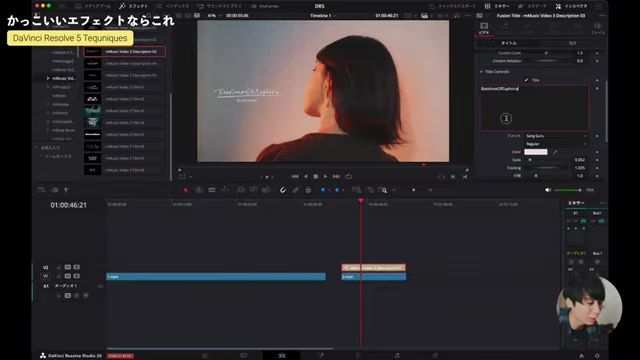
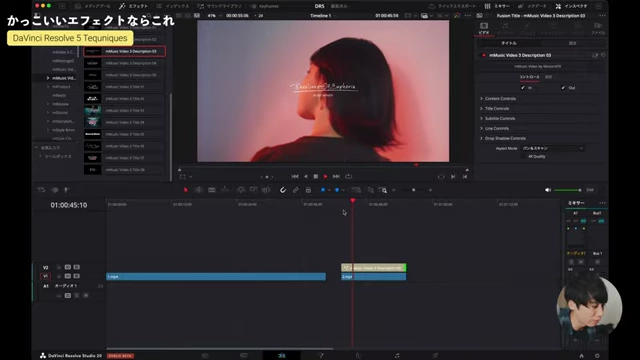
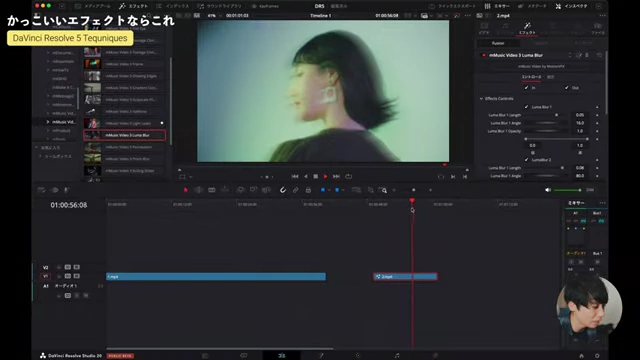
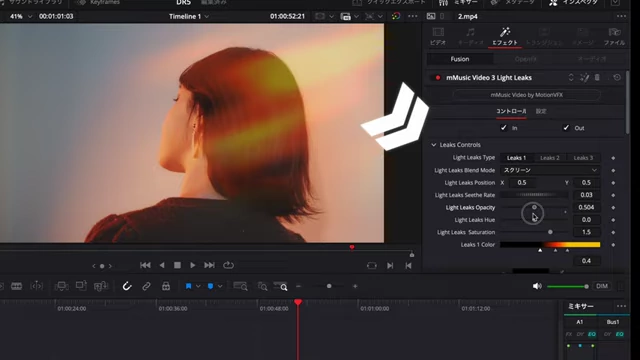
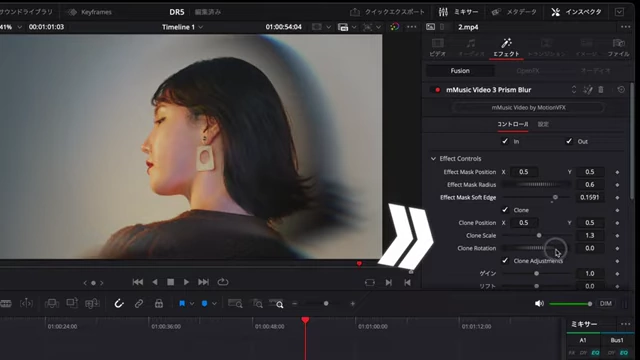
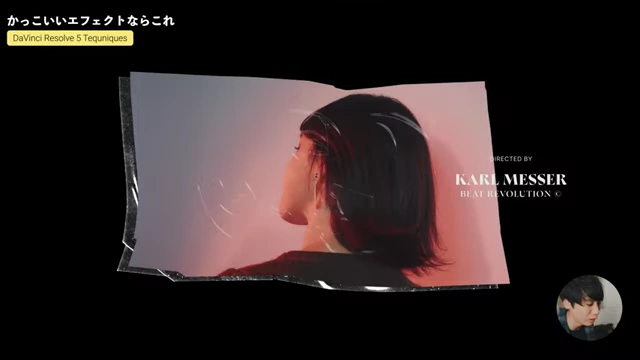
- Purpose: Offers a wide range of stylish text animations and cinematic effects, perfect for creating dynamic music videos or artistic short films.
- The mMusic Video 3 plugin website, highlighting its features for creating dynamic music videos and artistic films.
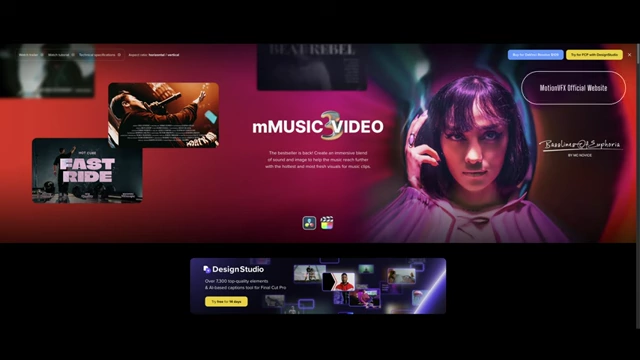
The mMusic Video 3 plugin website, highlighting its features for creating dynamic music videos and artistic films. [ 00:06:53 ] - Key Features:
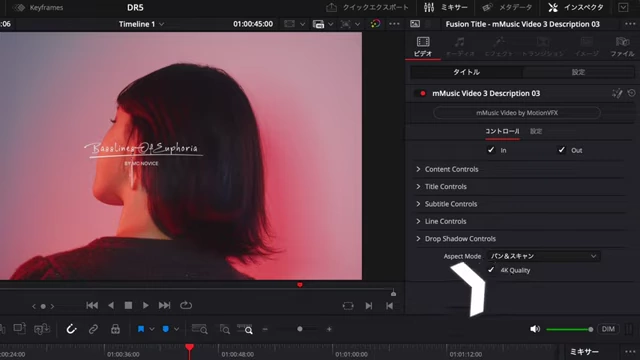
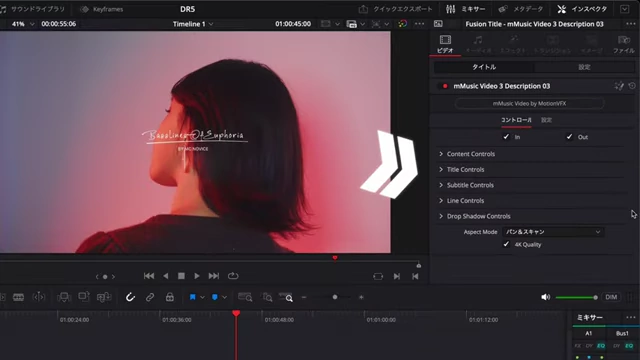
- 4K Quality: Ensure high-resolution output by checking the 4K quality box in the plugin settings.
- The Inspector panel showing the '4K Quality' checkbox, recommended for high-resolution output with MotionVFX plugins.
- mProduct [13:16]
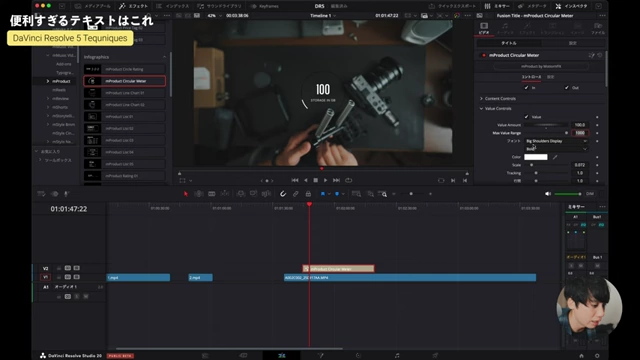
- Purpose: Designed for product introductions, advertisements, and promotional content.
- Key Features:
- Price Display: Add animated price tags that can be customized with different currencies (e.g., Yen, Dollars) and values.
- The mProduct plugin displaying an animated price tag, with options to customize currency and value.

- mTrip [16:01]
- Purpose: Ideal for vlogs, travel diaries, and daily life videos, offering cute and dynamic title animations.
- The mTrip plugin's interface, featuring dynamic title animations suitable for vlogs and travel videos.
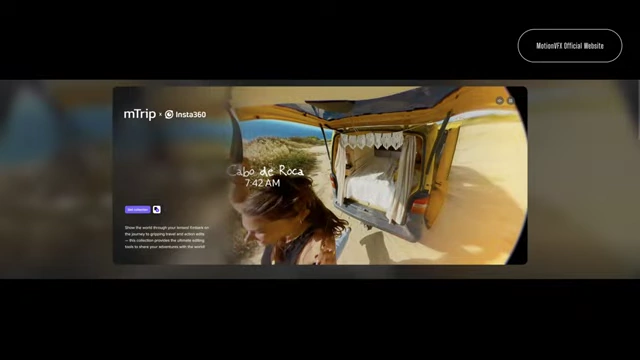
The mTrip plugin's interface, featuring dynamic title animations suitable for vlogs and travel videos. [ 00:16:09 ] - Key Features:
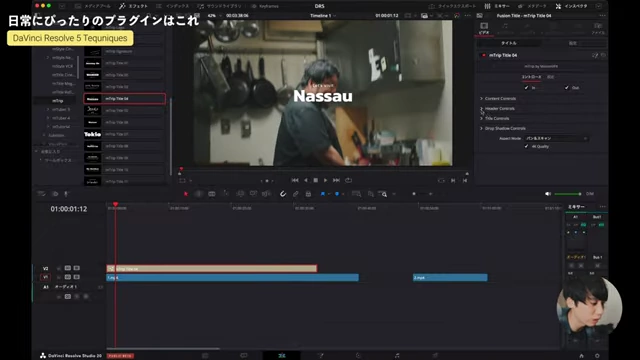
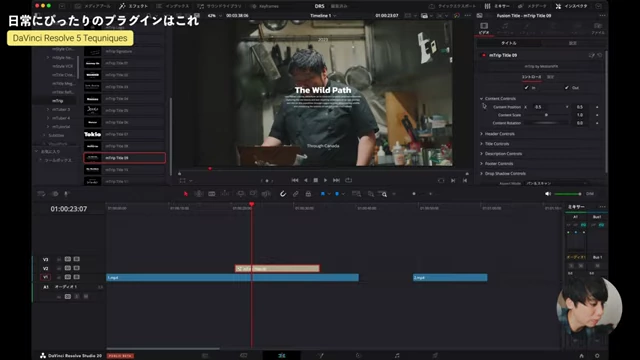
- Dynamic Text Animations: Text appears and disappears with playful, engaging motion.
- An example of an mTrip title animation displaying a location with an engaging, playful text effect.
4. Streamlining Daily Editing with Power Bins [18:51]
Power Bins provide a centralized location for frequently used assets, significantly speeding up the editing workflow.
- Concept: A Power Bin acts as a universal library within DaVinci Resolve, allowing you to store clips, sounds, effects, and text presets that can be accessed across all your projects.
- Activation:
- Go to the Media Pool area.
- Click on the three dots icon (options menu) on the right side of the Media Pool.
- Select "Show Power Bins" to enable them.
- Activating 'Show Power Bins' from the Media Pool's options menu to access a universal asset library.
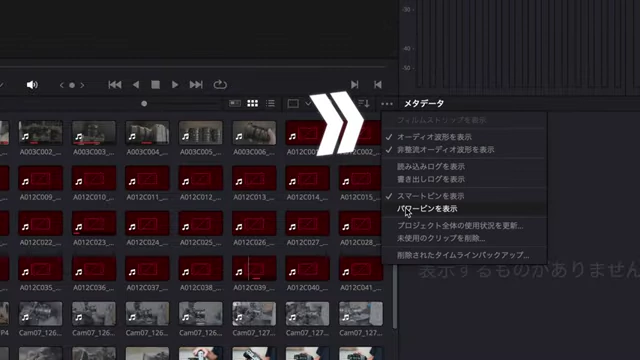
Activating 'Show Power Bins' from the Media Pool's options menu to access a universal asset library. [ 00:19:38 ]
- Usage and Benefits:
- Drag and drop any commonly used elements (e.g., intros, outros, channel subscription calls-to-action, frequently used sound effects, custom text templates) into a Power Bin.
- These assets will then be available in any new or existing DaVinci Resolve project, eliminating the need to re-import or recreate them.
- This feature is especially beneficial for content creators with consistent branding or recurring elements in their videos.
- Important Note on Media Linking:
- Power Bins only link to the original media files. If the original files on your computer (e.g., on an SSD or external drive) are moved or deleted, the linked media in DaVinci Resolve will appear "offline" (marked with a red warning).
- To resolve this, you must relink the media by pointing DaVinci Resolve to the new location of your original files.
5. Optimizing Performance for Smoother Editing [22:22]
For users experiencing slow or laggy editing, particularly with high-resolution footage or lower-spec computers, DaVinci Resolve offers an optimization feature.
- Problem: Editing 4K or complex projects on less powerful hardware can lead to choppy playback and a frustrating workflow.
- Solution: Optimized Media: DaVinci Resolve can generate lighter, proxy versions of your media for editing, significantly improving performance. The final export will still use the original, high-quality files.
- Configuration Steps:
- Go to Project Settings (gear icon in the bottom right).
- In the Master Settings, find "Optimized Media and Render Cache."
- Adjust "Optimized Media Resolution":
- Options include "Original," "Half," "Quarter," up to "1/16."
- Choosing a lower resolution (e.g., 1/4 or 1/16) will make editing much lighter without noticeably degrading the visual quality on the editing screen.
- Setting 'Optimized Media Resolution' in Project Settings to generate lighter proxy media for smoother editing playback.
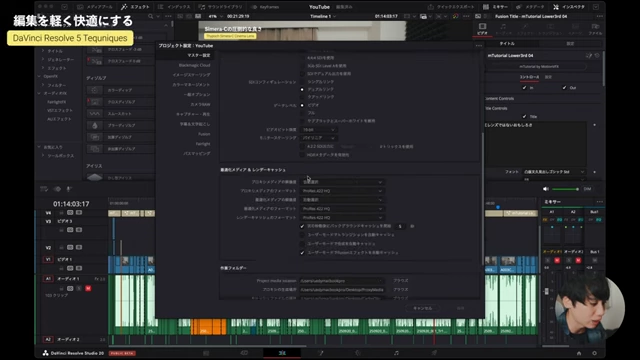
Setting 'Optimized Media Resolution' in Project Settings to generate lighter proxy media for smoother editing playback. [ 00:23:37 ]
- Process: After setting the desired resolution, DaVinci Resolve will render these optimized media files in the background.
- Reassurance: This only affects the editing preview; the final exported video will be rendered from your original, full-resolution source files.
6. AI-Powered Noise Reduction [24:56]
DaVinci Resolve Studio (the paid version) includes an advanced AI-driven noise reduction feature for cleaning up noisy footage.
- Problem: Footage shot in low light conditions (e.g., night vlogs without external lighting) often contains visible digital noise, which can detract from video quality.
- Original low-light footage exhibiting noticeable digital noise, before the application of AI noise reduction.
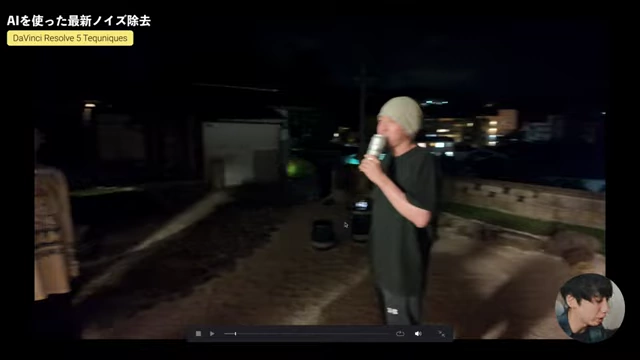
Original low-light footage exhibiting noticeable digital noise, before the application of AI noise reduction. [ 00:26:53 ] - Feature: AI Ultra Noise Reduction:
- Location: Navigate to the Color page. In the "Noise Reduction" tab, under "Spatial Noise Reduction," there is an option called "AI Ultra Noise Reduction."
- The 'AI Ultra Noise Reduction' option in the Color page's Spatial Noise Reduction tab, available in DaVinci Resolve Studio.
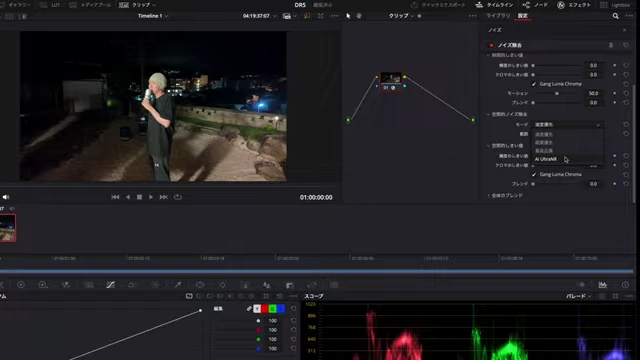
The 'AI Ultra Noise Reduction' option in the Color page's Spatial Noise Reduction tab, available in DaVinci Resolve Studio. [ 00:25:59 ] - Process: Enable this option and click "Analyze" to allow the AI to detect and mitigate noise in your clip.
- Benefit: Unlike manual noise reduction which can sometimes lead to excessive blurriness, the AI intelligently reduces noise while striving to preserve crucial image details, resulting in a more natural and powerful noise-free image.
- DaVinci Resolve Studio's AI Ultra Noise Reduction applied, showing reduced noise while preserving image details in the footage.
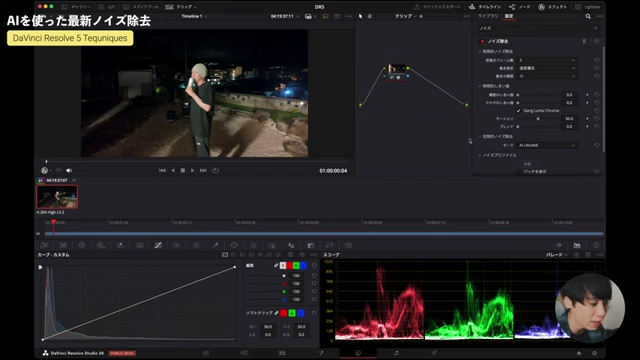
DaVinci Resolve Studio's AI Ultra Noise Reduction applied, showing reduced noise while preserving image details in the footage. [ 00:27:20 ] - Performance Note: Applying AI noise reduction can be resource-intensive, making playback heavy. It's recommended to disable it during the main editing phase and only re-enable it for the final export to ensure smooth workflow.
Conclusion [27:35]
The video concludes by reiterating the value of the presented DaVinci Resolve techniques and MotionVFX plugins for beginners aiming to enhance their video editing skills and efficiency. The speaker encourages viewers to try out these tips and tools.