Demaree Split Method: A Step-by-Step Guide to Increasing Honey Production and Preventing Swarming
This video provides a detailed, step-by-step guide on performing a Demaree split to increase honey production and prevent swarming from a single beehive.


- Initial Setup: Start by locating the queen and confining her to the bottom deep box with some brood early in the season, typically late February/early March in South Carolina.
- Equipment Preparation: Gather necessary equipment, including a queen excluder, an additional deep box (preferably with drawn comb), at least one medium super (also ideally with drawn comb), and a queen clip.
- Timing is Key: Execute the split when the bottom brood box is full of brood and resources, but before nectar flow is in full swing, to avoid issues like "chill brood" during cold nights.
- Hive Reconfiguration: The process involves setting up a specific hive stack: the queen in a new bottom box with one frame of brood and empty frames, a queen excluder, followed by an overwintered medium box, an empty honey super, and finally the original brood box on top.
- Critical Follow-Up: A crucial step is to inspect the top brood box 4-6 days after the split and remove all emergency queen cells to ensure the hive remains queen-right in the bottom section and focuses on honey production.
- Scaling Production: The Demaree method can be repeated 2-3 times in the spring by moving brood frames up and empty frames down, significantly increasing the workforce and leading to multiple supers of honey.

Finished Demaree Split Hive Configuration [ 00:10:29 ]
Introduction to the Demaree Split [0:00]
The Demaree split is a beekeeping method designed to increase honey production from a single hive and prevent swarming. This video provides a simplified, step-by-step guide to help beekeepers implement this technique.
1. Prepare the Queen in the Bottom Box [0:54]
The first step in the Demaree split begins early in the year, right after winter.

- Locate and Isolate the Queen: Find the queen and place her in the bottom deep box.
- This should ideally be done in late February or early March in warmer climates like South Carolina, adjusting for local conditions.
- Ensure there is some brood present in the bottom box to keep the queen warm and surrounded by bees.

Map highlighting South Carolina [ 00:01:41 ]
- Purpose: This action encourages the queen to lay eggs predominantly in this bottom box, establishing a strong brood nest there.
2. Gather Necessary Equipment [2:07]
Before performing the split, gather all required components.
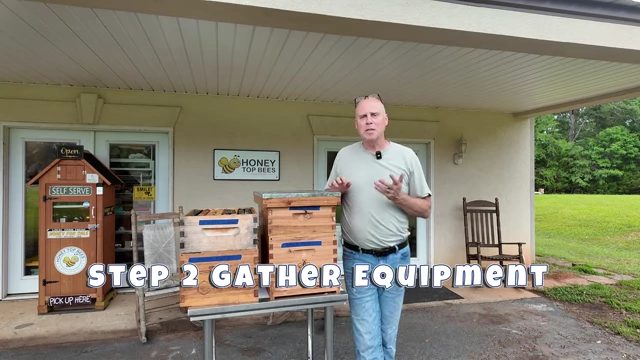
- Essential Gear:
- A queen excluder (only one is typically needed, though some use two).
- An additional deep box, preferably with drawn comb to expedite bee activity.
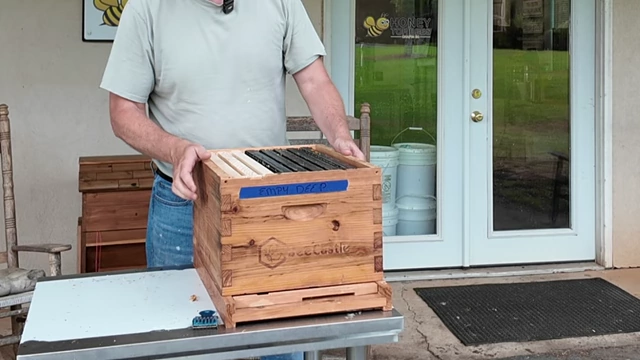
Empty deep box with frames [ 00:07:01 ] - At least one medium super to start, with potential for two or more depending on honey flow, also ideally with drawn comb.
- A queen clip for safely temporarily holding the queen.
- Importance of Drawn Comb: Using drawn comb significantly benefits the split as it allows bees to immediately store nectar and the queen to lay eggs without the delay of drawing out new foundation, maximizing the nectar flow.
3. Choose the Optimal Time for the Split [3:32]
Timing is crucial for the success of a Demaree split.
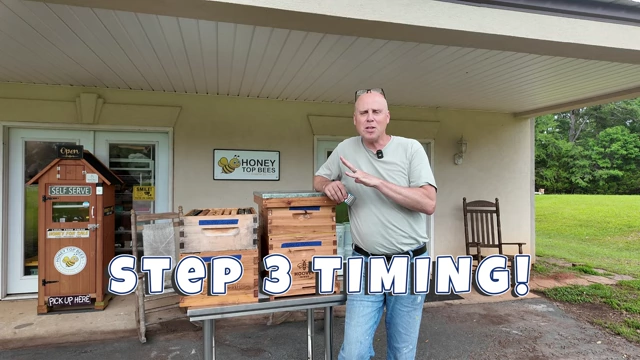
- Avoid Early Splits: Do not perform the split if temperatures are still too cold, as separating the brood nest can lead to "chill brood," killing developing bees due to insufficient warmth.
- Ideal Conditions: The best time is when the designated bottom brood box is largely full of brood, with some pollen and minimal new nectar. This typically occurs as the colony expands rapidly in early spring.
4. Find and Secure the Queen [4:48]
Before reconfiguring the hive, the queen must be located and temporarily secured.
- Locate the Queen: Since the queen was previously confined to the bottom box, she should be easier to find there.
- Once found, she can be gently clipped (if not already) and placed in a queen clip or a safe place temporarily.

Close-up of a Queen Bee surrounded by worker bees [ 00:05:29 ]
- Once found, she can be gently clipped (if not already) and placed in a queen clip or a safe place temporarily.
5. Reconfigure the Hive Structure [5:51]
This is the core of the Demaree split, involving specific arrangement of hive boxes.
- Remove Brood Frame: Take one frame of brood (either capped or open, as the speaker finds little difference) from the queen's bottom box and set it aside.
- Set Aside Original Brood Box: Remove the original brood box, which was on top of the queen excluder, and place it aside.

Step 5 Set Brood Box Aside [ 00:06:39 ] - Install New Bottom Box: Place the empty deep box (from Step 2, preferably with drawn comb) onto the hive stand.
- Place Brood Frame with Queen: Remove the middle frame from this new bottom box. Insert the single frame of brood (set aside earlier) into the center. Then, reintroduce the queen into this box.
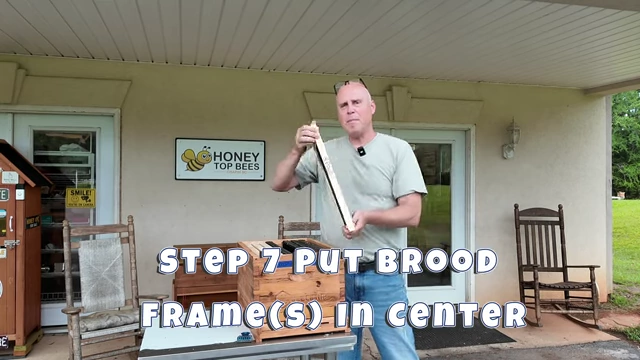
Step 7 Put Brood Frame(s) in Center [ 00:07:09 ] - Add Queen Excluder: Place the queen excluder directly above the new bottom box containing the queen and brood.
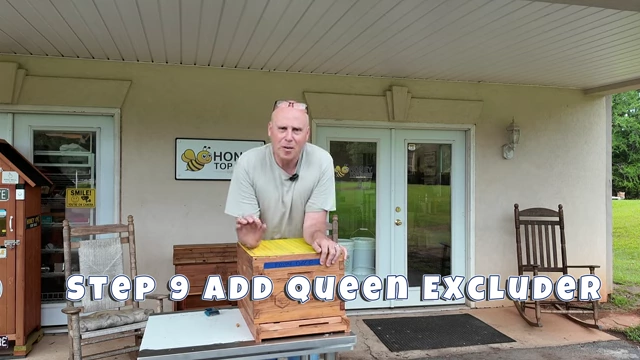
Step 9 Add Queen Excluder [ 00:07:29 ] - Stack Boxes Above Excluder:
- Place the overwintered medium box (if used) directly above the queen excluder. This box might contain residual brood, honey, or pollen.
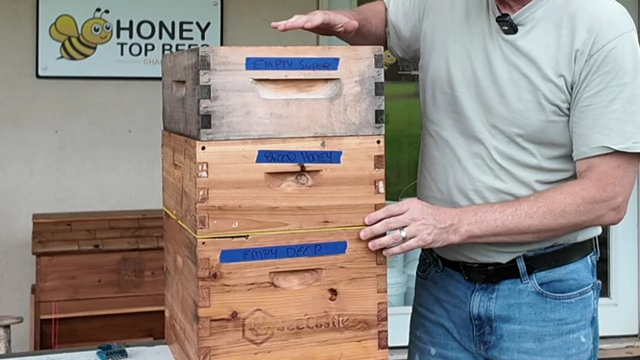
Intermediate stack showing deep, honey, and empty super boxes [ 00:09:06 ] - Add an empty honey super on top of the overwintered box (or directly on the excluder if no overwintered box).
- Finally, place the original brood box (containing the majority of the hive's brood) on top of the empty honey super.

Step 11 Add Original Brood Box to Top [ 00:09:09 ] - The speaker completes the hive stack.

Completing the hive stack [ 00:09:23 ]
- Place the overwintered medium box (if used) directly above the queen excluder. This box might contain residual brood, honey, or pollen.
- Add Covers: Install the inner cover and the top cover.
- Upper Entrance Consideration: An upper entrance can be left open to allow drones to escape, as they cannot pass through the queen excluder.
- Avoid Vented Inner Covers: Do not use vented inner covers in early spring as maintaining warmth inside the hive (90-95°F) is critical for brood development.
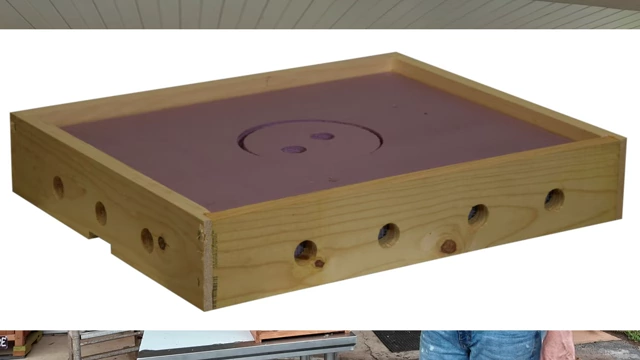
Example of a vented inner cover to avoid [ 00:09:59 ]
- Resulting Configuration: The hive now has the queen in the bottom with minimal brood and plenty of space, empty honey supers in the middle, and the majority of the brood stacked on top.
Finished Demaree Split Hive Configuration [ 00:10:29 ] - This setup significantly reduces the hive's swarming instinct by providing ample laying space for the queen while maintaining a large, concentrated workforce (brood on top) that will hatch and contribute to honey production during the nectar flow.
6. Crucial Follow-Up: Remove Emergency Queen Cells [11:36]
This is a non-negotiable step for the Demaree split's success.
- Timing: 4-6 days after the split, inspect the top brood box thoroughly.

Step 12 Remove Queen Cells [ 00:12:18 ] - Action: Remove all emergency queen cells that the bees will undoubtedly create.
- The bees in the top section, being separated from the queen's pheromone, will perceive themselves as queenless and initiate emergency queen cells from young larvae.
- Missing even one queen cell can lead to a queen emerging in the top box, disrupting the Demaree method's objective.
- Alternative (Not Recommended for Demaree Goal): While these queen cells could be used to make new splits, doing so would deplete the workforce intended for honey production and defeat the purpose of the Demaree method.
Phase II: Repeating the Demaree Process for Enhanced Honey Production [13:14]
The Demaree method can be repeated to further boost honey yields.
- Timing for Repetition: Approximately two weeks (14-21 days) after the initial split, most of the brood in the top box will have hatched, and the queen's bottom box should be full of new brood.
- Option 1: Brood Rotation:
- Move 5-6 frames of brood from the queen's bottom box to the now-empty top brood box.

Speaker pointing to the bottom box for brood rotation [ 00:14:11 ] - Replace them with 5-6 empty frames in the bottom box.
- Crucial Follow-up: Remember to remove any new emergency queen cells from the top box 5-6 days after this rotation.
- Move 5-6 frames of brood from the queen's bottom box to the now-empty top brood box.
- Option 2: Adding More Boxes:
- Introduce another empty deep box above the queen excluder.
- Move brood from the bottom box to this new middle deep box.
- Move the previous top brood box further up.
- This creates an even larger workforce, leading to significantly higher honey production (e.g., from one super to four or five).
- Benefits of Repetition: Repeating this process 2-3 times can create an exceptionally strong hive, maximizing foraging and honey processing efficiency, and even allowing for an easier split later in the season.