DaVinci Resolve Split Toning: Traditional vs. Pro Techniques
Summary:
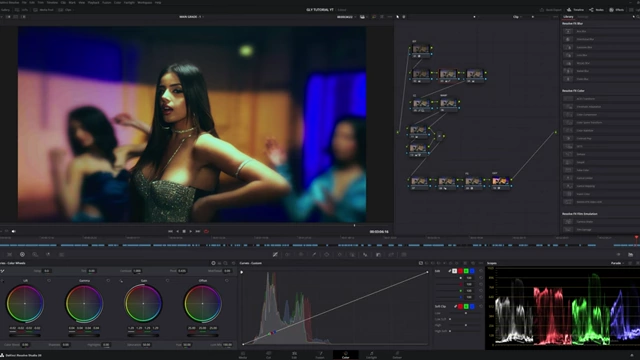
Overview of the DaVinci Resolve color grading interface with node graph and color wheels.
[
00:00:20
]
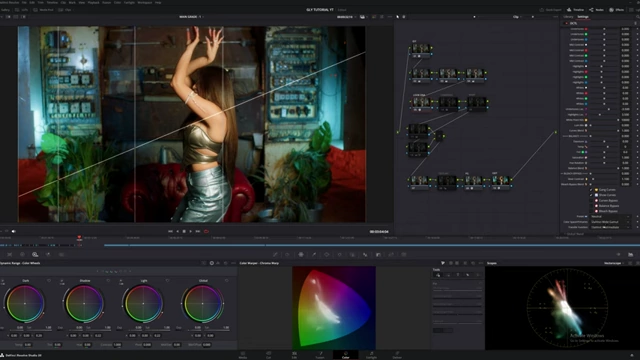
The Look DNA plugin interface with film stock presets and detailed color adjustment parameters.
[
00:11:09
]
The video demonstrates how to perform split toning in DaVinci Resolve using both traditional methods and a "pro" technique involving a third-party tool. The traditional method involves manually adjusting custom curves to introduce color into the highlights and shadows, a time-consuming and precise process. The pro method utilizes a DCTL plugin called Look DNA to quickly apply film-like color grades and split toning effects, significantly speeding up the workflow. The video compares the speed and flexibility of the two methods, showcasing the efficiency of the plugin.
Introduction [00:00:00]
- The video introduces the topic of split toning and promises to show both a basic and a professional way to achieve the effect in DaVinci Resolve.
- The presenter mentions using custom curves and a Color Warper.
Traditional Split Toning with Custom Curves [00:01:12]
- Initial setup: Applying Input Device Transform (IDT) and Output Device Transform (ODT) to the footage.
- The footage is converted from ARI to DaVinci Wide Gamut with an output of Rec 709 gamma 2.4.
- Basic Corrections
- Exposure adjustment.
- Neutralizing the white balance to correct the warmth in the original image.
- Adjusting saturation using the HSV node.
- Film Grain Application
- The video uses the Film Look Creator with the color disabled to apply 35mm grain and halation.
- Detailed Split Toning Using Custom Curves
- The presenter emphasizes the importance and difficulty of mastering custom curves.
- Adjustments are made to the luma, red, green, and blue channels to inject color into the shadows and highlights, creating the split toning effect.
- Protecting skin tones is a priority while applying color effects.
- A new node is created to demonstrate the custom curve process from scratch.
Problems With the Traditional Method [00:04:16]
- The video highlights the issues with using custom curves.
- The presenter roleplays someone who is new to split toning using curves, and shows how the manual technique is a guessing game that can take hours.
Refining the Grade and Using Layer Mixer [00:07:41]
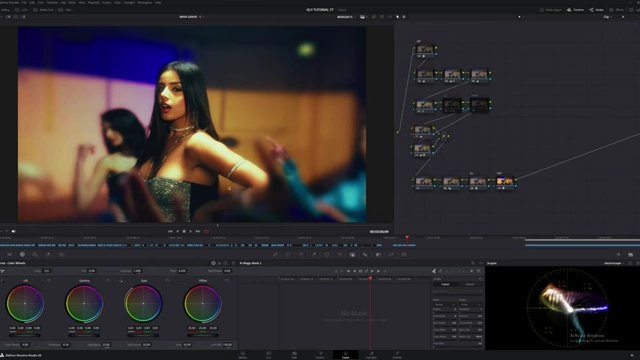
- The presenter uses the layer mixer, showing pop on the skin with the gamma being lifted through the magic mask.
- Highlights can be softened to feel more 3D.
Pro Split Toning with Look DNA Plugin [00:10:30]
- Introduction to the plugin Look DNA
- A free demo of the plugin is offered.
- Applying a Film Stock Preset
- The presenter selects the Fuji 3513 preset to emulate the characteristics of Fuji film.
- Adjusting Contrast and Density
- Adjustments are made to mid-contrast and black knit point to soften the image and add density to the darker regions.
- Color Adjustments and Highlight Control
- The presenter adjusts undertones and highlight sliders to achieve the desired split toning look.
- The presenter recommends creating tastes and shares that the colors shouldn't feel unnatural.
- Using the Compress Tab
- The presenter adds green and blue tonality, achieving a cyan look.
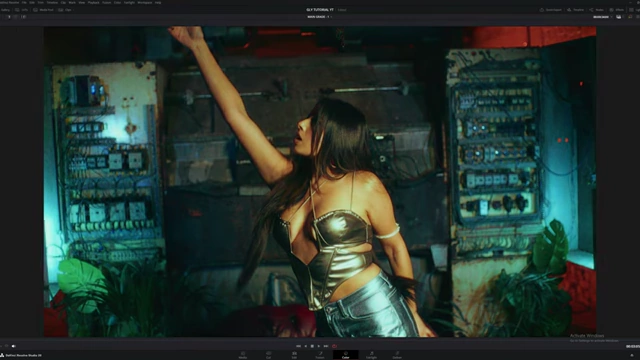
Final graded shot after applying the Look DNA plugin, showcasing the split toning effect. [ 00:18:04 ]
- The presenter adds green and blue tonality, achieving a cyan look.