Mastering Saturation with DaVinci Resolve 19's Color Slice
This video introduces DaVinci Resolve 19's Color Slice tool, explaining its features for comprehensive saturation control.
- The Color Slice tool is highlighted as a powerful way to manage saturation, density, and hue.
- It offers both global adjustments across the entire image and precise control over individual color channels (Red, Skin, Yellow, Green, Cyan, Blue, Magenta).
- Key global controls include "Saturation Depth" to target highlights or shadows, and "Density" to add "weight" to colors, also with a corresponding "Depth" control.
- For individual colors, users can adjust saturation, density, and even "center" the hue.
- The speaker demonstrates how to visualize the affected areas for specific color adjustments using a highlight feature.
- The preferred workflow involves making broad saturation and density adjustments first, then refining specific colors as needed.
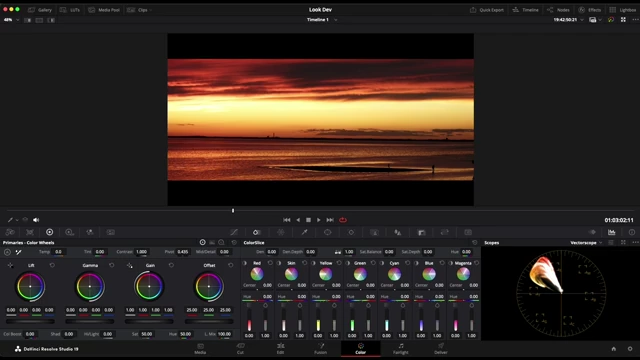
Introduction to DaVinci Resolve 19's Color Slice Tool [0:00]
The video introduces the Color Slice tool in DaVinci Resolve 19, a feature that provides extensive control over color and saturation.
- The tool initially appears overwhelming due to numerous options but becomes straightforward once its core concepts are understood.
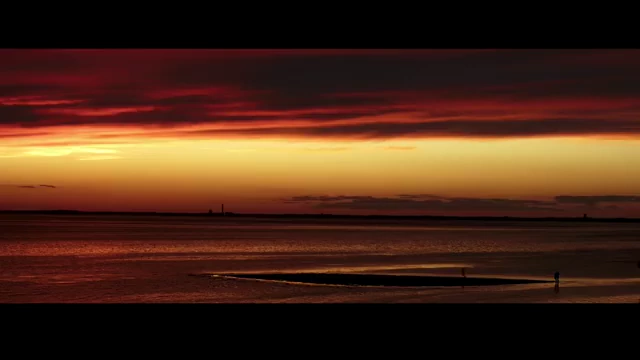
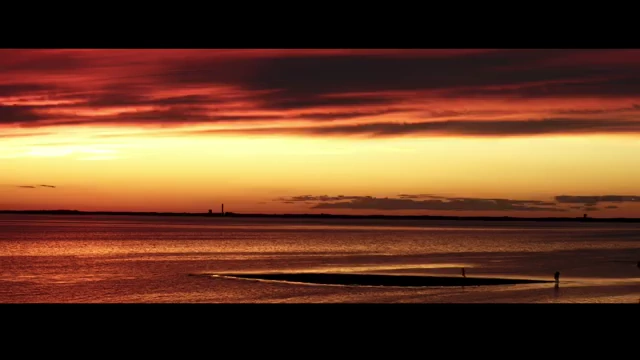
- The footage used for demonstration is a highly saturated sunset shot, chosen to clearly illustrate the impact of the tools.
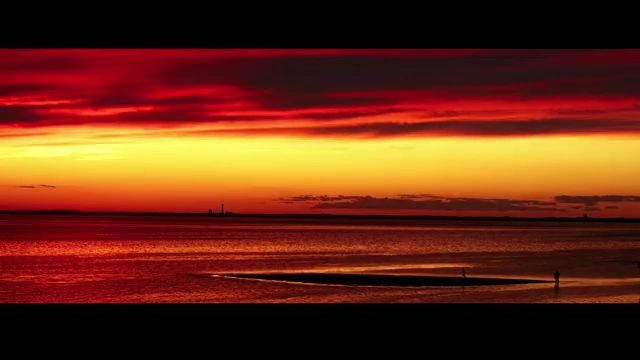
Original highly saturated sunset footage used for demonstration [ 00:05:34 ]
Initial Color Management Setup [1:10]
Before diving into Color Slice, the speaker outlines the basic color management steps applied to the footage.
- The footage was shot on a Blackmagic camera.
- The working color space is ACES (Academy Color Encoding System), which is the speaker's preferred choice.
- The output color space is set to Rec.709, ensuring the footage is normalized.
Preferred Use of Color Slice for Saturation [1:54]
The speaker explains why Color Slice is primarily used for saturation adjustments in their workflow, differentiating it from other saturation tools.
- Color Slice is used in the "saturation node" right after the "balance node."
- It's favored for its powerful "subtractive saturation" quality when working on a "grading basis."
- Subtractive saturation from the Film Look Creator, also introduced in Resolve 19, is preferred for "look development" (broader aesthetic choices), while Color Slice is for finer grading.
Overview of Color Slice Controls [3:27]
The Color Slice panel is divided into two main sections: global controls and individual color channel controls.
- Global Sliders (Top Section) [3:32]
- Affect the entire image uniformly.
- Includes Density, Saturation, and Hue controls.
- Individual Color Channel Sliders (Bottom Section) [4:20]
- Allow for specific adjustments based on individual colors (Red, Skin, Yellow, Green, Cyan, Blue, Magenta).
Detailed view of the Color Slice panel in DaVinci Resolve [ 00:03:59 ]
- Allow for specific adjustments based on individual colors (Red, Skin, Yellow, Green, Cyan, Blue, Magenta).
Exploring Global Saturation and Density Controls [5:17]
A detailed breakdown of how the global sliders affect the image.
- Saturation Slider [5:17]
- Directly increases or decreases the overall saturation of the image.
- Demonstrates dramatic changes on the vector scope when increased.
- Saturation Depth [5:42]
- Controls which luminance range (highlights or shadows) is more affected by saturation changes.
- Positive values (e.g., +1) increase saturation impact on higher luminance areas (highlights/mid-highlights).
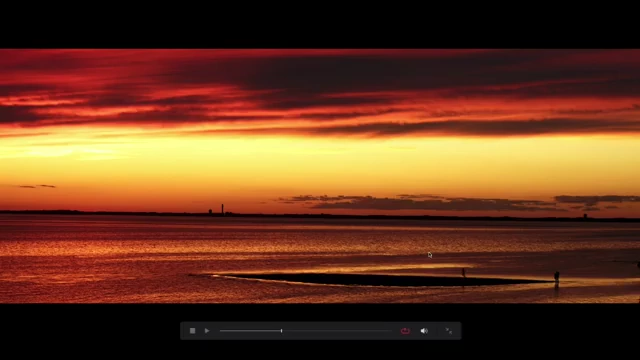
Image showing the effect of positive Saturation Depth on highlights [ 00:06:03 ] - Negative values (e.g., -1) increase saturation impact on lower luminance areas (shadows).
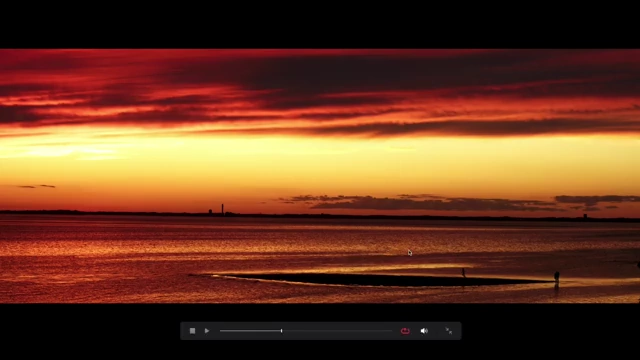
Image showing the effect of negative Saturation Depth on shadows [ 00:06:29 ]
- Density and Density Depth [6:47]
- Saturation Balance [8:08]
- Balances the overall saturation. The speaker notes they use this less frequently, preferring depth control.
- Hue Slider [8:47]
- Globally rotates the hues in the image. Rarely used by the speaker for general grading.
Making Individual Color Channel Adjustments [10:00]
How to fine-tune specific colors using the dedicated channel controls.
- Color Channels [10:00]
- Each channel (Red, Skin, Yellow, Green, Cyan, Blue, Magenta) has its own set of density, saturation, and hue controls.
- Each channel also has a reset button to revert individual changes, or a master reset for the entire pallet.
- Highlight Affected Areas [10:56]
- A button next to each color channel visually highlights the exact areas of the image that will be affected by adjustments to that specific color.
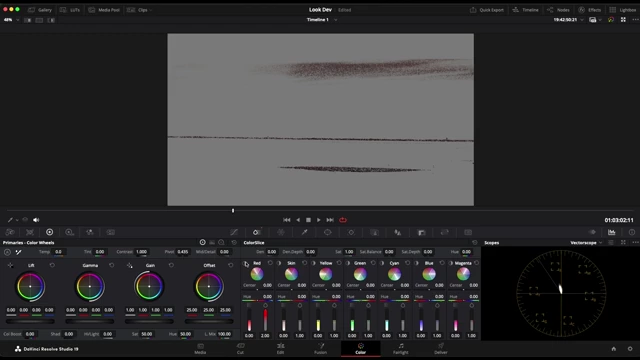
Visualizing the affected areas for red channel adjustments [ 00:11:07 ]
- A button next to each color channel visually highlights the exact areas of the image that will be affected by adjustments to that specific color.
- Centering Hues [11:20]
- The "Center" slider for each channel allows adjusting the precise hue range that the channel's controls will affect. This is visualized as moving a line on a color wheel representation.
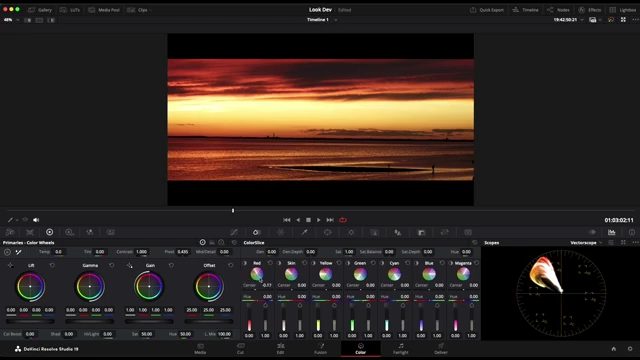
Adjusting the center of the Red hue channel using the 'Center' slider [ 00:11:37 ]
- The "Center" slider for each channel allows adjusting the precise hue range that the channel's controls will affect. This is visualized as moving a line on a color wheel representation.
- Practical Example with Red and Yellow [12:09]
- Demonstrates desaturating the red channel and adjusting its density.
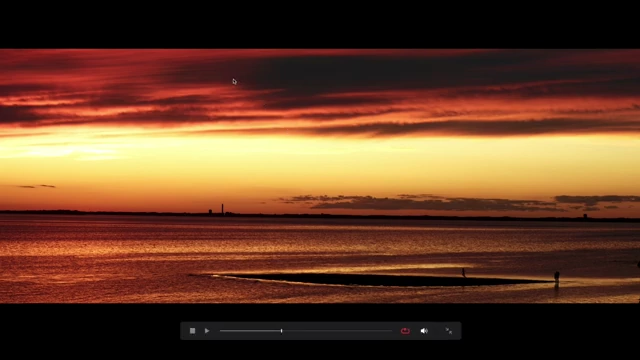
Image before and after adjusting red channel density and saturation [ 00:12:37 ] - Shows desaturating the yellow channel, resulting in a significant change in the sky.
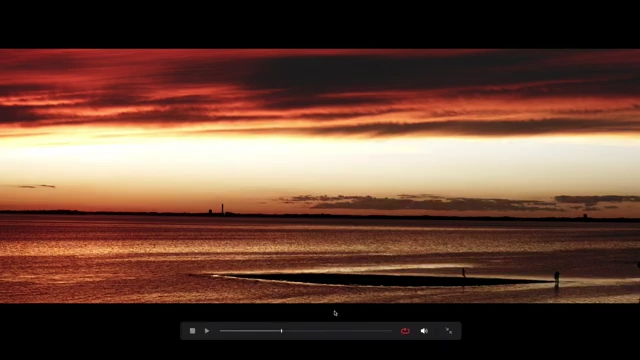
Image before and after desaturating the yellow channel [ 00:12:53 ]
- Demonstrates desaturating the red channel and adjusting its density.
Integrating Color Slice into a Grading Workflow [13:33]
The speaker summarizes their typical approach to using the Color Slice tool effectively.
- Start with global saturation and density adjustments using the main sliders and their corresponding depth controls.
- Only proceed to adjust individual color channels if the global changes don't achieve the desired look or if specific areas need fine-tuning.
- The saturation and density depth controls are considered particularly powerful for macro-level adjustments.
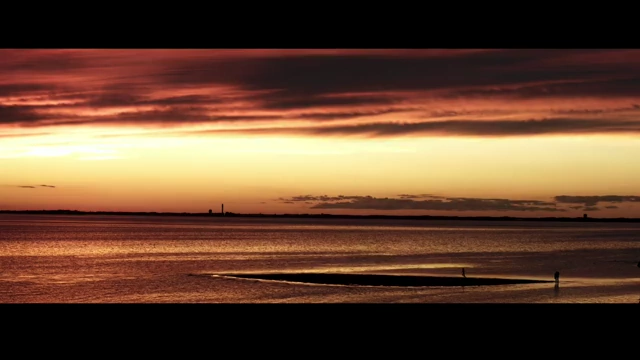
Example of the final image after applying global saturation and density depth adjustments [ 00:14:08 ]
Conclusion and Encouragement [15:36]
The video concludes by reiterating the simplicity of the tool once its main concepts are understood.
- Despite looking overwhelming, breaking down the controls into global vs. individual makes it manageable.
- Viewers are encouraged to experiment with the Color Slice tool and integrate it into their own workflow if they find it beneficial.