This video explains how to expose photos by choosing the right camera settings and understanding light metering.
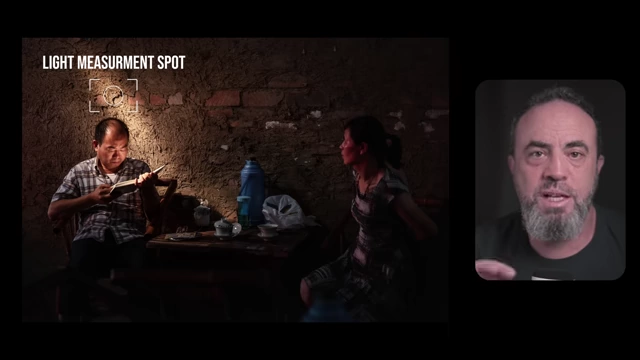
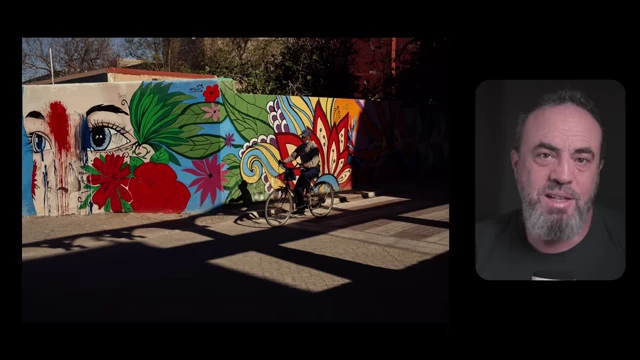
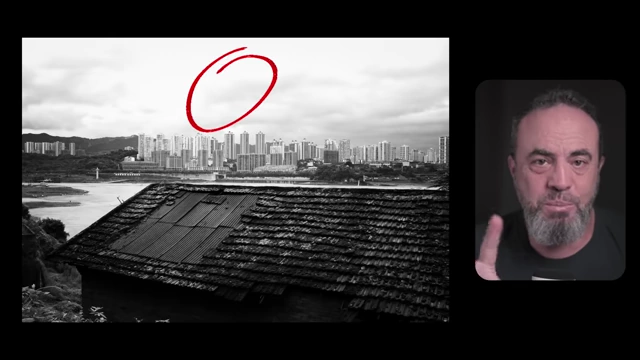
Spot metering precisely measures a small area of the frame
[
00:09:22
]
Aperture Priority (Av): Ideal for emphasizing subjects and controlling depth of field, used for street portraits or documentary photography.
Shutter Priority (Tv): Best for controlling motion, whether freezing fast action in sports or creating creative blurs with slow shutter speeds.
Manual Mode (M) & Manual with Auto ISO: Offers full control for stable lighting or allows the camera to adjust ISO in varied light while retaining aperture and shutter control.
Understanding Light Metering: Explains the 18% gray principle and how cameras interpret light, crucial for predicting exposure and using exposure compensation effectively.
Metering Modes: Details matrix, center-weighted, spot, and highlight-weighted metering, explaining when to use each for optimal results.
Real-World Setup: The speaker often uses semi-automatic modes, preferring Manual with Auto ISO and exposure compensation for flexibility, stressing that being fast and comfortable with your chosen method is more important than using a "correct" one.
Introduction: How I Shoot and Expose My Photos [00:00]
The speaker explains that his photography settings are determined by lighting conditions, subject type, and creative intent rather than a default method.
Aperture Priority (Av): When Subject Is the Focus [00:31]
This mode is ideal for emphasizing a subject by controlling the depth of field.
Usage Scenarios
Street portraits
Environmental portraits
Documentary photography
Slowly moving street or urban photography
Example of street photography using Aperture Priority mode
[
00:01:46
]
Factors for Aperture Value
Amount of available light: In poorly lit environments, a wider aperture (smaller f-number) may be needed to compensate for lack of light.
Desired context in the image:
A wider aperture (smaller f-number) can blur backgrounds, isolating the subject and reducing distractions.
A narrower aperture (larger f-number) keeps more of the background in focus, providing context.
Considerations for Multiple Subjects
For scenes with multiple elements that need to be in focus, a higher aperture (e.g., f/11 and above) is used.
When pushing to higher aperture values, manual settings are often preferred to compensate for reduced light.
Recommended Autofocus Mode
Facial or eye recognition autofocus for single subjects.
Shutter Priority (Tv): Controlling Motion and Speed [01:54]
This mode prioritizes shutter speed, allowing control over motion.
Usage Scenarios
Freezing fast-paced action: Festivals, crowds, sports events, or anything requiring high speed.
Freezing fast action at a festival using Shutter Priority
[
00:02:10
]
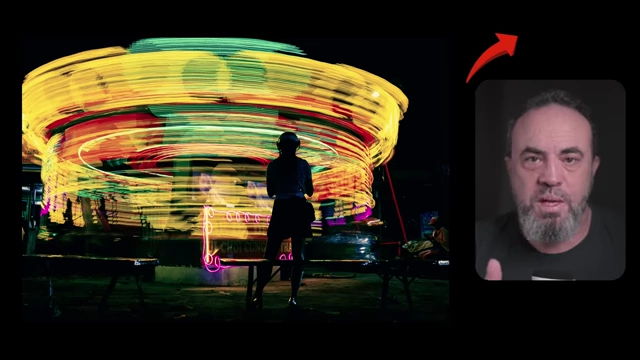
Creative motion blur: Panning or blurring parts of the image by using slower shutter speeds.
Creative motion blur achieved with a slow shutter speed
[
00:02:39
]
Autofocus Settings
Single point or area autofocus is recommended to prevent the camera from getting confused with multiple objects.
Combining with tracking autofocus helps maintain focus on moving subjects.
Downside
The camera automatically adjusts aperture, which may not always be desirable. Experience helps in knowing when to use this mode or switch to manual.
Manual Mode (M): Full Control Over the Camera [03:41]
This mode provides total control over exposure settings.
Full Manual
Used when stable lighting conditions are present and the photographer has a clear idea of desired depth and shutter speed.
Requires constant readjustment if lighting changes significantly (e.g., moving from shadow to sun).
Illustrating changing light conditions on a street, posing a challenge for full manual settings
[
00:04:24
]
Manual with Auto ISO
A more practical approach for varying light conditions.
Shutter speed and aperture are set manually, while ISO adjusts automatically within a set limit (e.g., 3,200 to 6,400) to prevent excessive noise.
Exposure compensation dial is used for fine-tuning.
Debate on Manual vs. Semi-Automatic
The speaker disagrees with the "full manual only" approach, advocating for using technological solutions like auto ISO to reduce the burden of constant adjustments, especially for beginners.
Light Metering - Understanding the 18% Grey Principle [05:24]
Light metering is fundamental to understanding exposure, even with modern mirrorless cameras that show live exposure.
Reflected Light Measurement
The camera's light meter measures light reflected from the scene, not the light directly hitting it.
18% Midtone Gray Assumption
Cameras are programmed to assume an average scene reflects about 18% of the light that hits it, aiming for a midtone gray exposure.
This assumption works for most typical scenes (city streets, parks, portraits).
When the System Fails
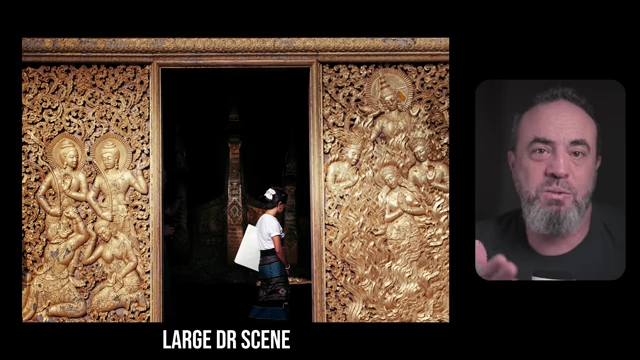
Large Dynamic Range Scenes: In situations with a large difference between dark and bright parts, the system might struggle.
An example of a large dynamic range scene where the 18% gray principle might struggle
[
00:07:14
]
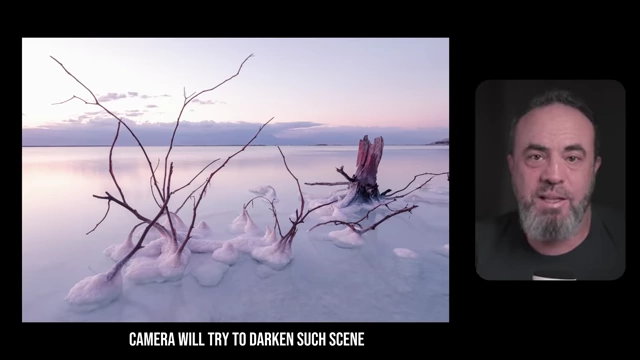
Bright Scenes: When pointed at very bright subjects (e.g., snow, sunsets, white walls), the camera perceives it as "too bright" and tries to darken the exposure to bring it to 18% gray, resulting in underexposed photos.
A bright scene (snowy landscape) that the camera's light meter would try to underexpose
[
00:07:25
]
Dark Scenes: When pointed at very dark subjects (e.g., night scenes, black objects), the camera perceives it as "too dark" and tries to brighten the exposure, resulting in overexposed photos.
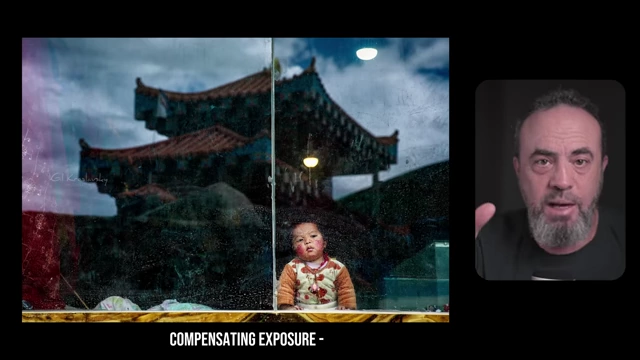
Role of Exposure Compensation
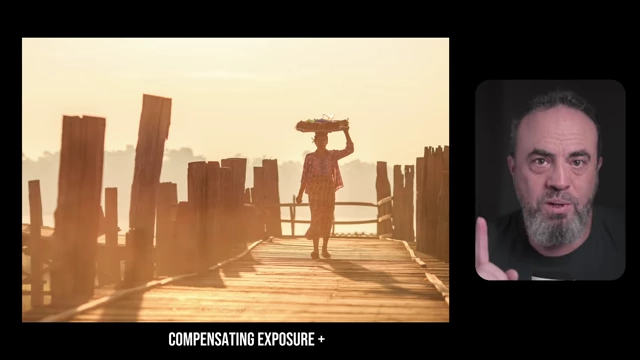
Exposure compensation is used to tell the camera that the scene is intentionally brighter or darker than 18% gray, overriding its automatic adjustment.
Increase compensation for bright scenes, decrease for dark scenes.
Increasing exposure compensation for a naturally bright scene
[
00:08:07
]
Decreasing exposure compensation for a naturally dark scene
[
00:08:10
]
The most precise option, measuring a tiny area (2-3%) of the frame and ignoring everything else.
Perfect for total control and exact light metering, especially in high-contrast situations or when a specific part of the scene needs precise exposure.
Spot metering precisely measures a small area of the frame
[
00:09:22
]
Can be linked to the autofocus point on most modern cameras.
(Available on some newer cameras) Prioritizes correct exposure in the brightest parts of the image.
Highlight-weighted metering prioritizes exposing the brightest parts of the image correctly
[
00:09:42
]
Useful for high-contrast situations, concerts, night markets, or whenever preserving highlights is crucial.
Ensures highlights are exposed correctly, even if it means sacrificing detail in darker areas.
Importance of Understanding Metering
Even with live exposure feedback, understanding metering helps predict camera behavior and quickly adjust when the camera's logic doesn't match the creative vision.
Metering adjustments only affect semi-automatic modes; in manual mode, the photographer must interpret the meter and make adjustments.